Uncategorized

Getting Started with Young Living

Are you at the point where you are ready to buy a kit? I remember being confused about member vs wholesale and which kit. This is directly from the doc that helped me when I got started (only I replaced my mentors number with mine):

How to Get Started

If you want oils you can always purchase from a distributor but you also have the option to become a Wholesale Member.

To keep your Wholesale Member status, you aren’t required to sell. You simply are now able to purchase your oils at a discounted price. And you get a kit of oils and a diffuser.

Sometimes you may hear the “Wholesale Membership” referred to as a “Distributor” – that never means that you HAVE to build a business. (Of course, if you want to, you can. In fact, to Distribute YL you don’t have to buy some fancy additional kit, you don’t have to purchase $1000 of product and we will NEVER suggest you carry a stockpile of Oils to sell to friends. Distributors get the same starter kits regular Wholesale Members do, they’ve just made some money by telling friends/family about the amazing Oils.)

Okay, back to the Kit. The kit I recommend EVERYONE get is the Premium Starter Kit for $160. It is truly the best kit you can imagine. There are other options, but I PROMISE this $160 kit is THE MOST BANG FOR YOUR BUCK. It comes with the Everyday Oils ($163 retail)… 5ml bottles of Lavender, Peppermint, Thieves, Purification, Copaiba, RC, Frankincense, Lemon, Panaway and Digize. And Stress Away.

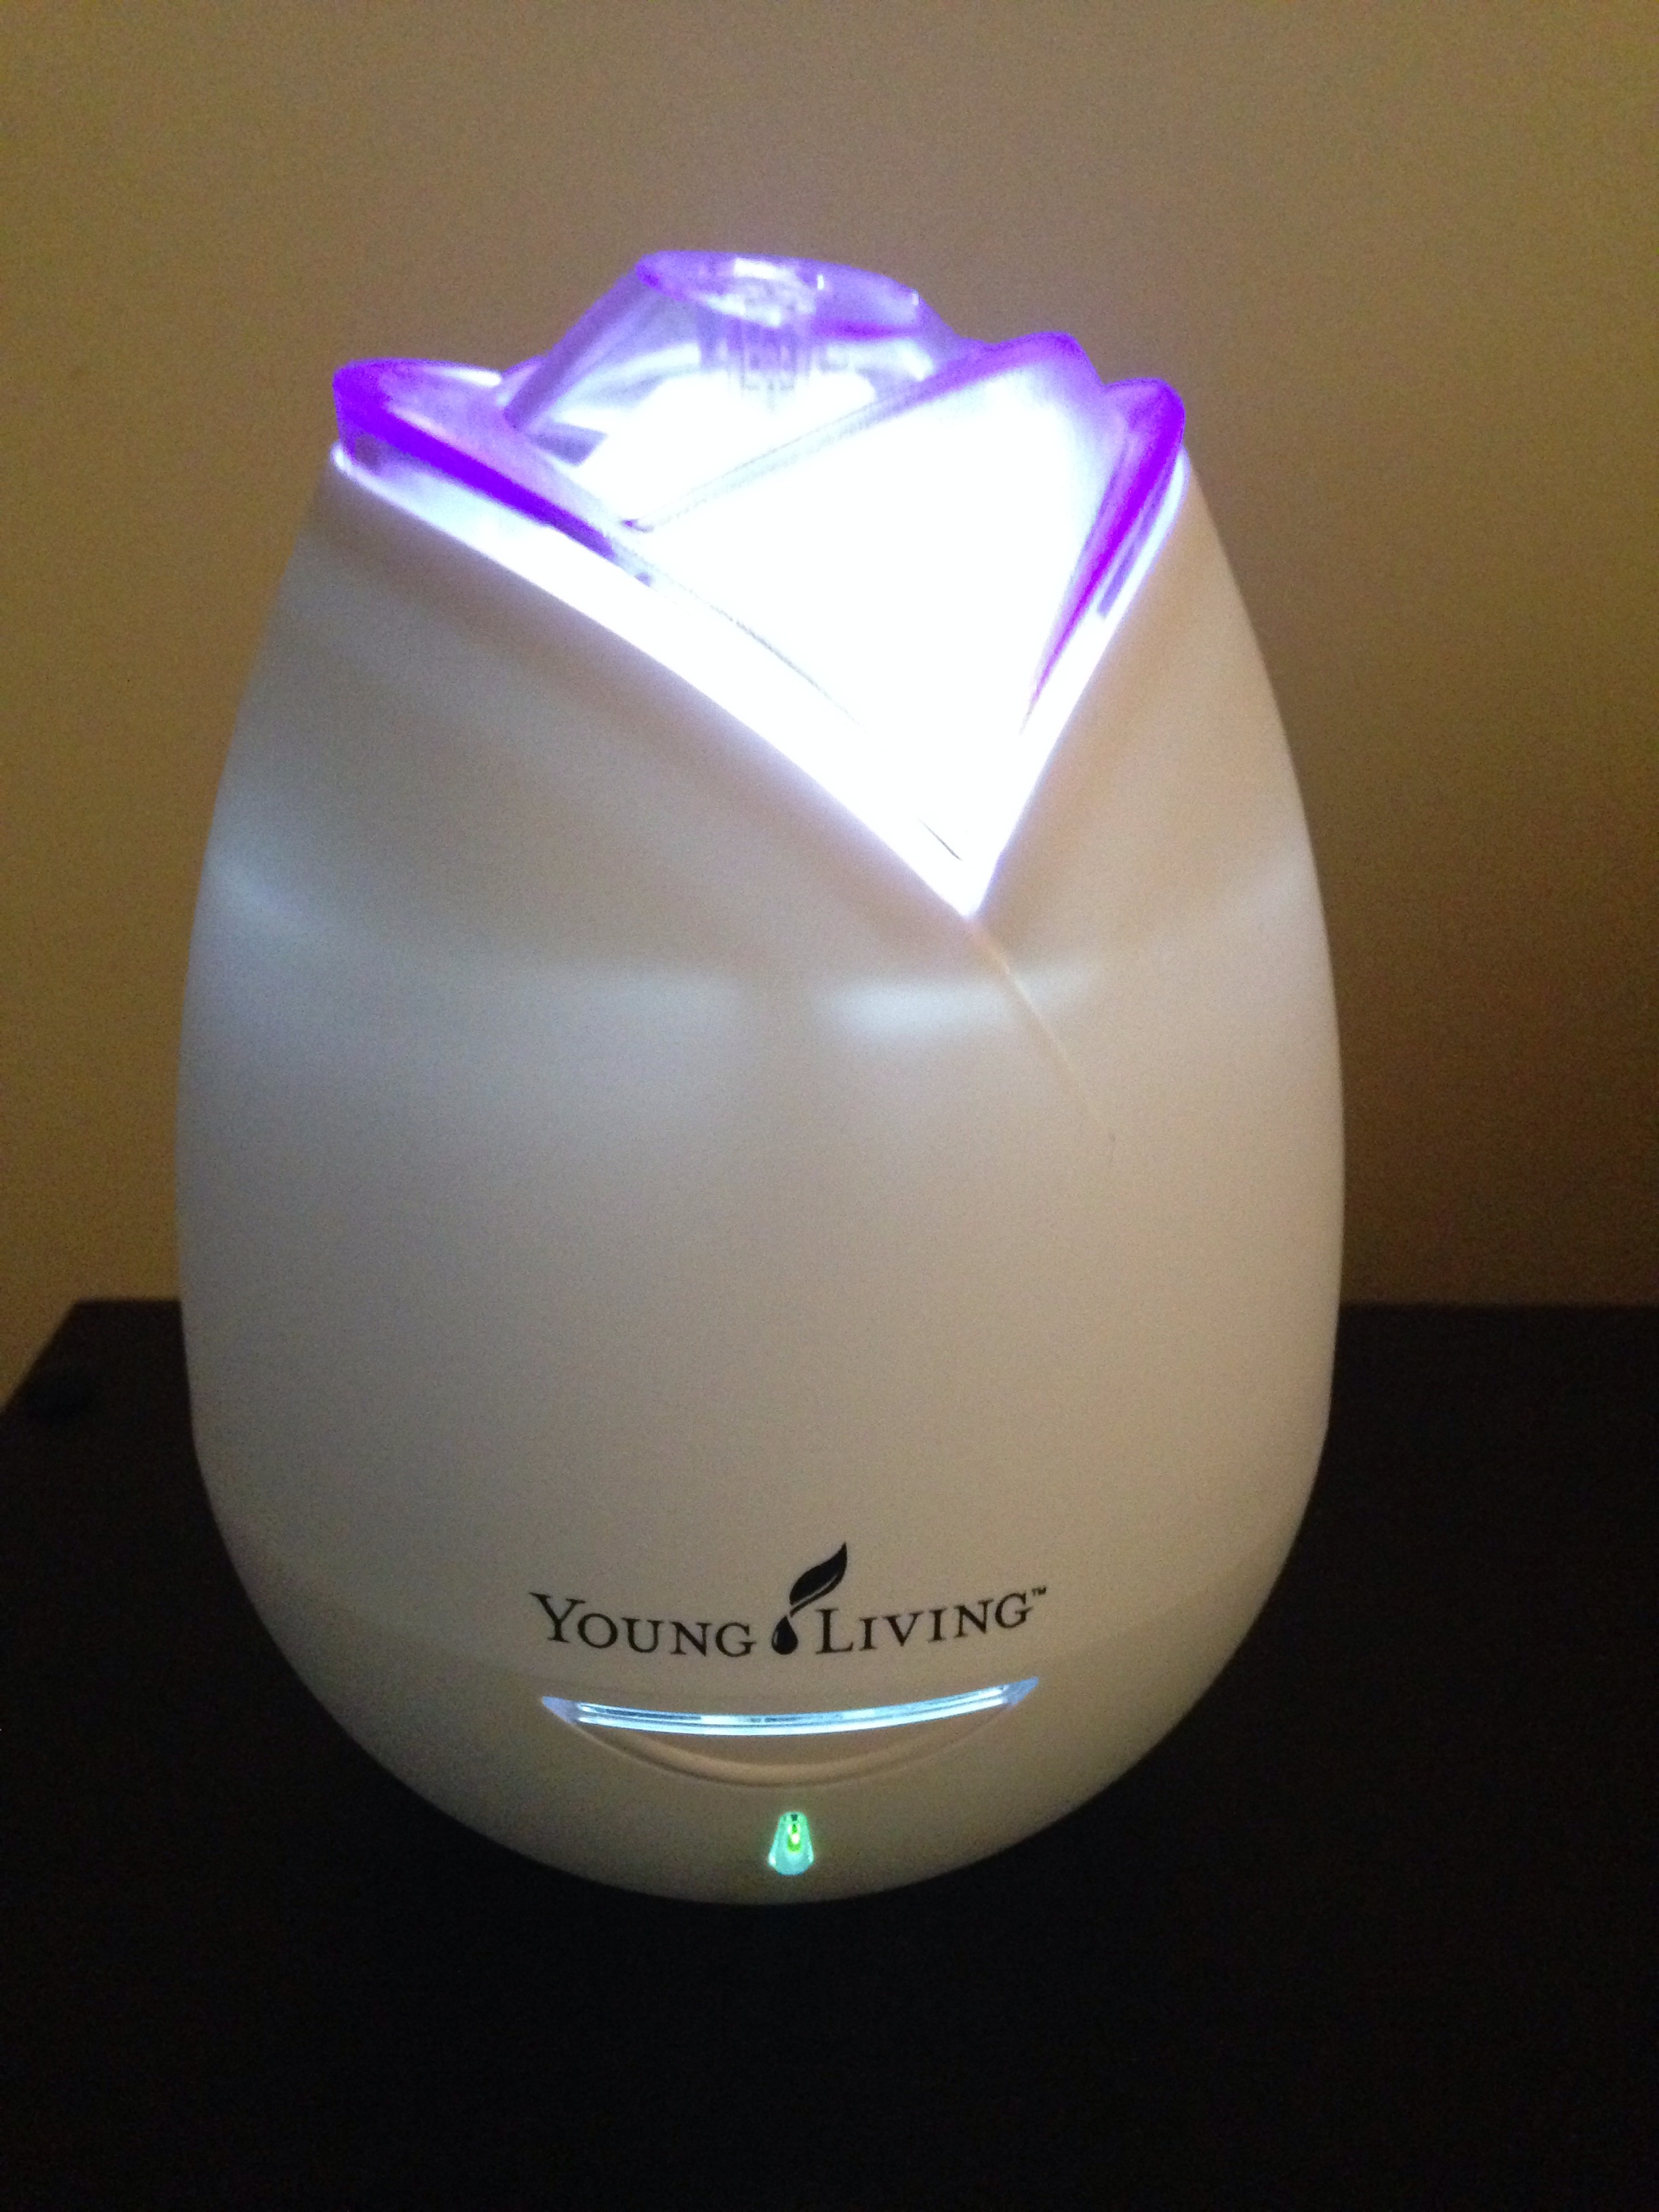
You also get some samples of oils and another awesome YL product, Ningxia Red. And a free diffuser. These diffusers retail for $98.

11 oils, 10 sample packets, AND the diffuser for $160.

The other two kits they offer at $40 and $75 don’t make sense to me at all.
The $40 kit comes with the samples but NO diffuser and NO oil bottles.
The $75 kit comes with the diffuser and samples and Stress-Away, but NO kit of 10 oils. My issue with the $75 kit is that you have a diffuser, but practically nothing to diffuse and you’ll have to buy more oils right away just to get started… so why not get the 10 oils for $75 more? The only time I recommend the $40 kit is if someone is anxious to get started and budget just doesn’t allow for the $160 kit. I will tell you, EVERY SINGLE person who has ordered the $40 kit ends up getting the $160 kit that month or the following, without fail. So again, if budget allows, the larger kit is THE best value.

There is also a Thieves Products/Thieves Cleaner Kit and Ningxia Red Kit if either of those products are what drew you to Young Living.

The other advantage you have is that the JoyDroppers have a crazy amount of resources for you to benefit from! One of the best resources is our Members-Only Facebook page called Essential Exchange. This is NOT put out by Young Living, this is simply a place where our readers who have become members can communicate with one another, share what is working for them, ask questions, and build relationships with others who are on this journey to a more healthy and natural lifestyle. This group will help cut your searching time down and get your questions answered quickly. I would love for you to be part of our group.

So… how do you sign up for your own Wholesale Membership?! Just follow the directions below.

Step 1: Click https://www.youngliving.com/vo/#/signup/start to Get Started.
Step 2: Keep “Member” checked (you can’t order the starter kit as a customer). This signs you as a “member” to Young Living and it’s the only way to get access to the kit and the 24% discount you get afterwards. It’s really important!
Step 3: Make sure to enter the member number of whoever introduced you to YL in both the sponsor & enroller blanks. My member number is 2183425.
Step 4: Complete the Info Requested. Your social will be filed away, and never used unless you get a paycheck.
Step 5: On the next page, choose premium starter kit, then compete payment info. Let me know if you have any trouble!

YAY!! You are a member!! Wooooohoooo!!! I remember how excited I was to receive my starter kit. Your membership will stay active as long as you spend at least $50 in a calendar year. You do not have to continue to renew your membership each year… that kit was a one-time thing and you will remain a member as long as you spend that $50 a year. Which, trust me… that won’t be a problem.
Uncategorized

Four Ways to Reduce Stress This Holiday Season

image

  1.  Plan ahead. Procrastinating and waiting til the last minute puts us in a frenzy and causes us to rush. That’s stressful! Prevent the holiday rush by being intentional and planful.
  2. Establish boundaries. Learn to say “no!” Taking on too much at the holidays can overwhelm. Know your limits and learn what you can do comfortably and calmly.
  3. Support your body. Emotional support oils can be extremely helpful during the holidays to help keep us cool, calm and collected. The body stores negative emotions which can help explain why 90% of all illness and disease can be traced back to emotional illness. Essential oils for emotional support have the ability to clean receptor sites and reset our bodies back to an emotionally stable state.
  4. Make time for fun. Try to find the joy in everything. Or maybe for every undesirable task that you “have” to do, you set aside time and treat yourself to something you enjoy this time of year.

Bonus: One additional tip: The best cure for the holiday blues and hustle is to go do something for someone else. Adopt and angel, ring the bell, visit a nursing home with your kids. It will give you a lift, not to mention those you are helping.


Uncategorized

Beauty Redeemed: Overcoming Social Anxiety

About ten years ago, I was diagnosed with social anxiety.

At the age of about 9, I realized I was shy and introverted, in comparison to my classmates, so the diagnosis was not a huge surprise to me.

When I was in social situations, I would get sweaty palms, my heart would race, I’d feel unsure of what to say, what people might think of me, and my mind would run wild with different scenarios of how things might play out, consuming me with worry.

Soon after I was diagnosed, I did try prescription meds at that point and hated the way they made me feel. I also started individual and group therapy and found them of little benefit since they kept my thoughts in a place where I focused on myself and my flaws.

Since then, I’ve spent countless hours reading self-help books, and have learned coping skills in my attempt to naturally tackle anxiety.

I have also learned something profound in recent years. I still wrestle with anxiety, but so does everyone on some level. The more I shared my story with others, the more I realized I’m not so strange and that we all have social anxiety to varying degrees.

My relationship with my Lord and Savior, Jesus Christ has also given me so much comfort and courage as I have become more and more diligent about reading His word. I check in with myself often and realize that any time I am in a state of anxiety or worry, I’m not trusting Him. I have also found that when I turn my focus to helping others, I take the focus off myself, and consequently I’m a happier person. It helps me to stay out of my head.

Finally, this past month, I’ve tried a combination of oil blends that I knew had worked for many many others and I cannot tell you how amazing it feels to go through my day without sweaty palms, butterflies, muscle tension, heart racing and just being in a constant state of worry! And NO side effects except that my students say I smell good. The oils are not a cure, but have noticeably lessened my symptoms.

So any gal reading this who may think they are alone and perceive everyone else out there has it made and feels confident, I can assure you that is so not the case. Everyone feels anxious, insecure, and nervous. We’re just human. The key is to figure out how to spend as little time as possible in that zone, recognize it and quickly move through it – back to a place of looking outside yourself and trusting Him.

Uncategorized

Frugal Oily Mommy: Making EOs Stretch, Part 4

image.jpeg

The fourth way I am making my oils last longer is by testing something out before I make it.

It’s the same kind of thinking I use when I make copies. I’m a middle school teacher and if I want 100 packets for my students that are front/back and hole-punched, I’m gonna do a test run and make one copy first, then if it’s right I’ll run the other 99.

I learned this the hard way. I was excited to make rollers and creams and dove right in whipping up several recipes and now have 3 rollers and one big jar of cream that don’t work for me, so the oils I used in those (more than I care to admit) are wasted. I’m currently in the process if rectifying this by using them as bases for larger batches of other recipes. I hate wasting!

When thinking about testing before making a roller, I just dilute each oil per the dilution instructions on the back of the bottle, making a one time use amount in the palm of my hand, and apply and layer each oil to the specified area.

For example, before making the focus roller, I just layered Vetiver, lavender and cedarwood under my big toe for several days. That way I knew it worked and I’m in love with it I am good to make a roller that I know I’ll use.

So, the message here is: get your combo right first, then make your roller or cream!

Ps- I hope you have enjoyed this series on how to make EOs work for you and that you can see now it can be done affordably. If you really want to make a change to this lifestyle, I believe you will do what it takes to make it work! It is oh so rewarding and worth it!

Uncategorized

Frugal Oily Mommy: Making EOs Stretch, Part 3

The third major way you should be conservative with your oils is diffusing (actually it’s quite possibly the first).

If you don’t read any farther in this post, read this: whatever you diffuse you will use up fastest. Case in point, I just got RC last month but had to diffuse it nightly for respiratory support for Madeline’s and it is now empty. I diffuse thieves daily for immunity and go through it like crazy. Thankfully neither of these are terribly pricey though.

My first major mistake as a new EO user was being captivated and overly excited about my diffuser. I couldn’t wait to brew all different amazing smells and to play with my new toy. I looked up recipes for different combinations. Mistake.

Again, be wary of Pinterest. Some of the recipes would tell me to use 8-10 drops of each EO! That is just crazy! And expensive. For a smaller home like ours, you only need 4 drops or so TOTAL to get the effect you’re after for your diffuser. So if I’m diffusing purification and thieves, I’m using two drops of each.

A final tip I’ll leave you with on diffusing is to think of oils you don’t use much. One I diffuse often now is citrus fresh. I love the smell, it’s uplifting, and I don’t need it for other uses so I don’t feel like I’m wasting it when I diffuse.

image

Uncategorized

Frugal Oily Mommy: Making EOs Stretch, Part 2

The second piece of the puzzle to conserve EOs, is prioritizing.

Think about each oil, and what uses are most important to you. For example, lavender is needed in just about every blend and roller I make. So I ordered a large 15 ml bottle of it (great value!) so I never have to worry about running out. (I will share in a post later this week how I make lavender stretch.)

Likewise, I love Peace and Calming for myself, but it’s Madeline’s happy oil and it offers both girls respiratory support. So I turn to other oils for occasional anxiety and preserve the P & C for Madeline. (Anna Claire has really vivid dreams with P and C and does better with lavender.)

Prioritizing how you will use each oil will help ensure that you don’t waste. It’s really worth your time to think this through. I actually took the time to make a list of each oil I have and what I use each for. If there was a powerhouse, like lavender or thieves, I considered buying bulk (15ml). OR when considering a high dollar oil like Panaway, I save it for when I really need extra muscle soothing. But for day to day I prefer lemongrass which is more affordable.

As you learn more, you’ll discover more cost effective oils that can do the job of the more costly ones and will be able to more wisely reserve the most precious oils for their most intended purposes. This graphic sort of tells the story (note that these prices aren’t current but still a good graphic for comparison purposes):

image

Uncategorized

Frugal Oily Mommy: Making Your EOs Stretch, Part 1

imageThis is the second time I’m writing this post, because I forgot to hit save the first time. I choose to believe everything happens for a reason, and I’m getting to have a do-over and make it even better the second time around!

When I look back on how I used my first YL Starter Kit, I feel a little sad about how much I wasted, overused and mismanaged my EOs. Even though other EO educators I’ve talked to balked and said they were impressed that I made my kit last 4 months, I feel like I could have made it stretch even more, if I knew then what I know now. That’s what I’d like to share with you!

There are four things that I feel like I do, or will do, that make my EOs last longer than your typical user. I’ve decided to share one here, and the other four in subsequent posts so I don’t overwhelm anybody!

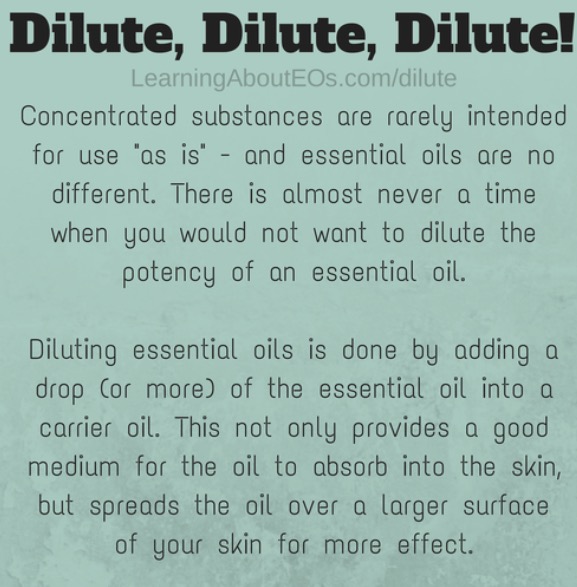
1. Dilute, dilute, dilute. This is the number one thing you can do to make your oils stretch. It’s also safer.

I know it may be tempting to slather on an oil and perceive that to be the most effective, but actually, adding a carrier oil allows you cover a larger area and helps to drive the EO into the skin. So more isn’t necessarily better. Also, YL oils are pure therapeutic grade oils and very strong. I have a graphic somewhere that I will try to find and include in this post later, but it shows that for some EOs, you can make a tiny 15ml bottle stretch with a carrier oil to equal a 750 ml bottle of wine! I always try to keep that visual in mind when I’m tempted to put something on “neat.”

One of my biggest frustrations as a newbie to essential oils was all of the contradictory information I found on dilution rates. I was so confused! For this reason: Be wary of Pinterest. Pinterest is a great starting point and some of what is out there is helpful, but there is also some really ignorant and potentially dangerous advice being given. For example, you may do a search for how to treat a child’s fever, and find 4 different graphics with 4 different dilution rates (not to mention that if you click on these you typically get a sales pitch instead of more information). You want to be certain you are giving your child the proper dosage!

As some of you already know, I rely on and trust the Gentle Babies book that you can buy on Amazon. I follow its guidance on diluting to a tee, especially for my kiddos. So I may find a strategy or recipe on Pinterest, then be sure the dilution given there matches Gentle Babies before making it for my family.

The other super important resources I rely on are our secret groups on Facebook:

Essentially Better Living: Members Only

Essential Exchange

Envision

When someone in our household has a symptom, I will turn to that Gentle Babies book first, and I really wish Debra Raybern would change the title because there are protocols for every age child and for moms! I also like to look first to see what has worked for other EO users. I prefer EE to “the lounge” because everyone in there has a kit and there’s just a whole lot of wisdom in there. I also now know which posters are like-minded, the most experienced, frugal, have kids my age, and whose advice I trust so that is priceless. I couldn’t be happier with my decision to use Young Living EOs and join the Joydroppers team for this reason – YL Joydroppers pair high quality EOs with an education and supportive network for its members so that you can safely use them for your family! (Note: Not in these groups yet? You will be added to the EE group and several other groups once you do sign up!)