kids · parenting · Uncategorized

Sidewalk Chalk Mosaics

Have you had a chance to make a sidewalk chalk mosaic yet? We love them. Every aspect of it is satisfying, from planning a design, to putting down the tape, coloring and maybe especially peeling off the tape for the big reveal.

My girls had been begging to do another sidewalk chalk mosaic ever since the rain washed away their last one. Thankfully, the Easter bunny brought them more chalk and tape. 🐇

Anna Claire, our ten-year-old, was very strategic about choosing the day to do it, watching the weather so that they would get the maximum number of days to enjoy it before the next rain.

Last time I did most of the tape work. This time the girls did it without help. We have learned you don’t have to be too perfectionistic about it. It will look good no matter what.

We have also learned it is wise to sweep the area or pick up any debris so the area is clean before you start taping. If you don’t, the tape won’t stick and stay put as well.

It is also worth mentioning that we did not use a template. I have read that others “combed Pinterest” searching for a template. You certainly could! We personally opted not to because we felt like part of the fun is creating your own design.

If you do create your own design, it’s helpful to decide what the outside shape will be, then just be sure to the smaller shapes you create inside are polygons: triangles and trapezoids look best. Lots of angles!

You can put in some additional planning if you want the design to be symmetrical. We opted for more abstract.

We also had better chalk this time, “much more pigmented” (the words of Madeline, my six-year-old) and we loved the names of the colors: Macaroni and Cheese, Mauvelous and Granny Smith Apple, to name a few. We have decided we would like to be hired by Crayola to choose the color names!

A new box of chalk is so satisfying

For this project you will need:

essential oils · kids · parenting · quarantine

DIY Scented Crayons Using Essential Oils

Have you ever made your own crayons? I was looking for some fun homeschool activities to do with my kiddos and stumbled on a recipe for making your own crayons and someone suggested scenting them.

I am personally allergic to artificial fragrance and we don’t use it in our home, but I do have and love essential oils!

Here is what you will need for this project:

  • Old crayons (broken with paper peeled off)
  • Muffin/cupcake pan
  • Cupcake liners
  • Butter spray or olive oil spray
  • Essential oils

Here are the steps:

1. Preheat oven to 250. If crayons are not already peeled and broken into small pieces you will need to do that.

2. Decide if you want each crayon to be a different color or if you want rainbow crayons. Either way, you may want to divide your broken crayon pieces up into piles by color.

Peel paper, break into pieces and sort by color.

3. Place a liner in each section of the muffin pan. We sprayed lightly with cooking spray so the liner would come off easily. Then add crayons. I recommend placing the pan on a foil lined cookie sheet.

4. Place the pan in the oven and leave in for 15 about minutes.

5. Pull out and add two drops of desired essential oil to each crayon, then return to oven for another 15 minutes. My daughter felt it was important to color code the oil with the crayon color (pictured below).

She color coded the oil with crayon color. 🌈

6. She was eager to use her new crayons so we placed in the freezer for a half hour after we removed from the oven.

If you appreciate nostalgic stories I thought I would also share my first experience making my own crayon. I was about seven or eight: I remember being bored as a kid and taking my old pieces of crayon, and wondering if I could melt them to make a new one like the multicolored ones I had seen at church. I was little so I wasn’t allowed to use the stove or oven, but I could use the sun’s heat. I had an idea. But I would need a container. It just so happened that it was Pillsbury cinnamon roll day at my house, and so I asked my mom to save the cup the icing comes in. That cup would be perfect for my crayon experiment. It was summer, so it was hot enough I thought. I put my broken crayons, paper peeled off, in the icing container, and set it out in a sunny spot. I came back out several hours later, and just as I expected I had lovely melted rainbow wax. I brought it inside and let it cool off and was so proud of that crayon.

**Did you know there was such a thing as National Crayon Day? It is March 31, the day I am writing this. Mark your calendar for next year and this may be the perfect activity for celebrating it. 😊

Uncategorized

Simple Fun in Nashville with Kids

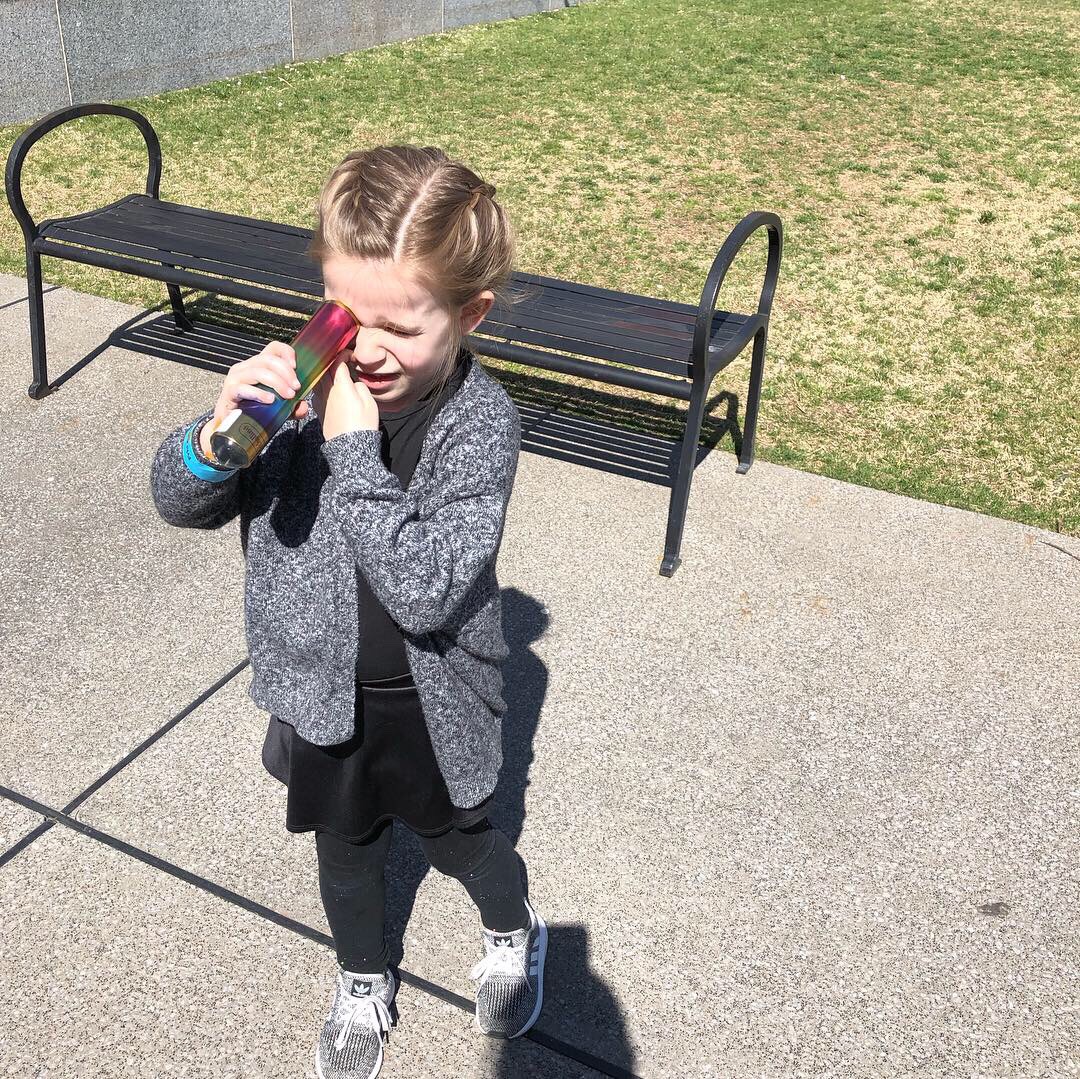
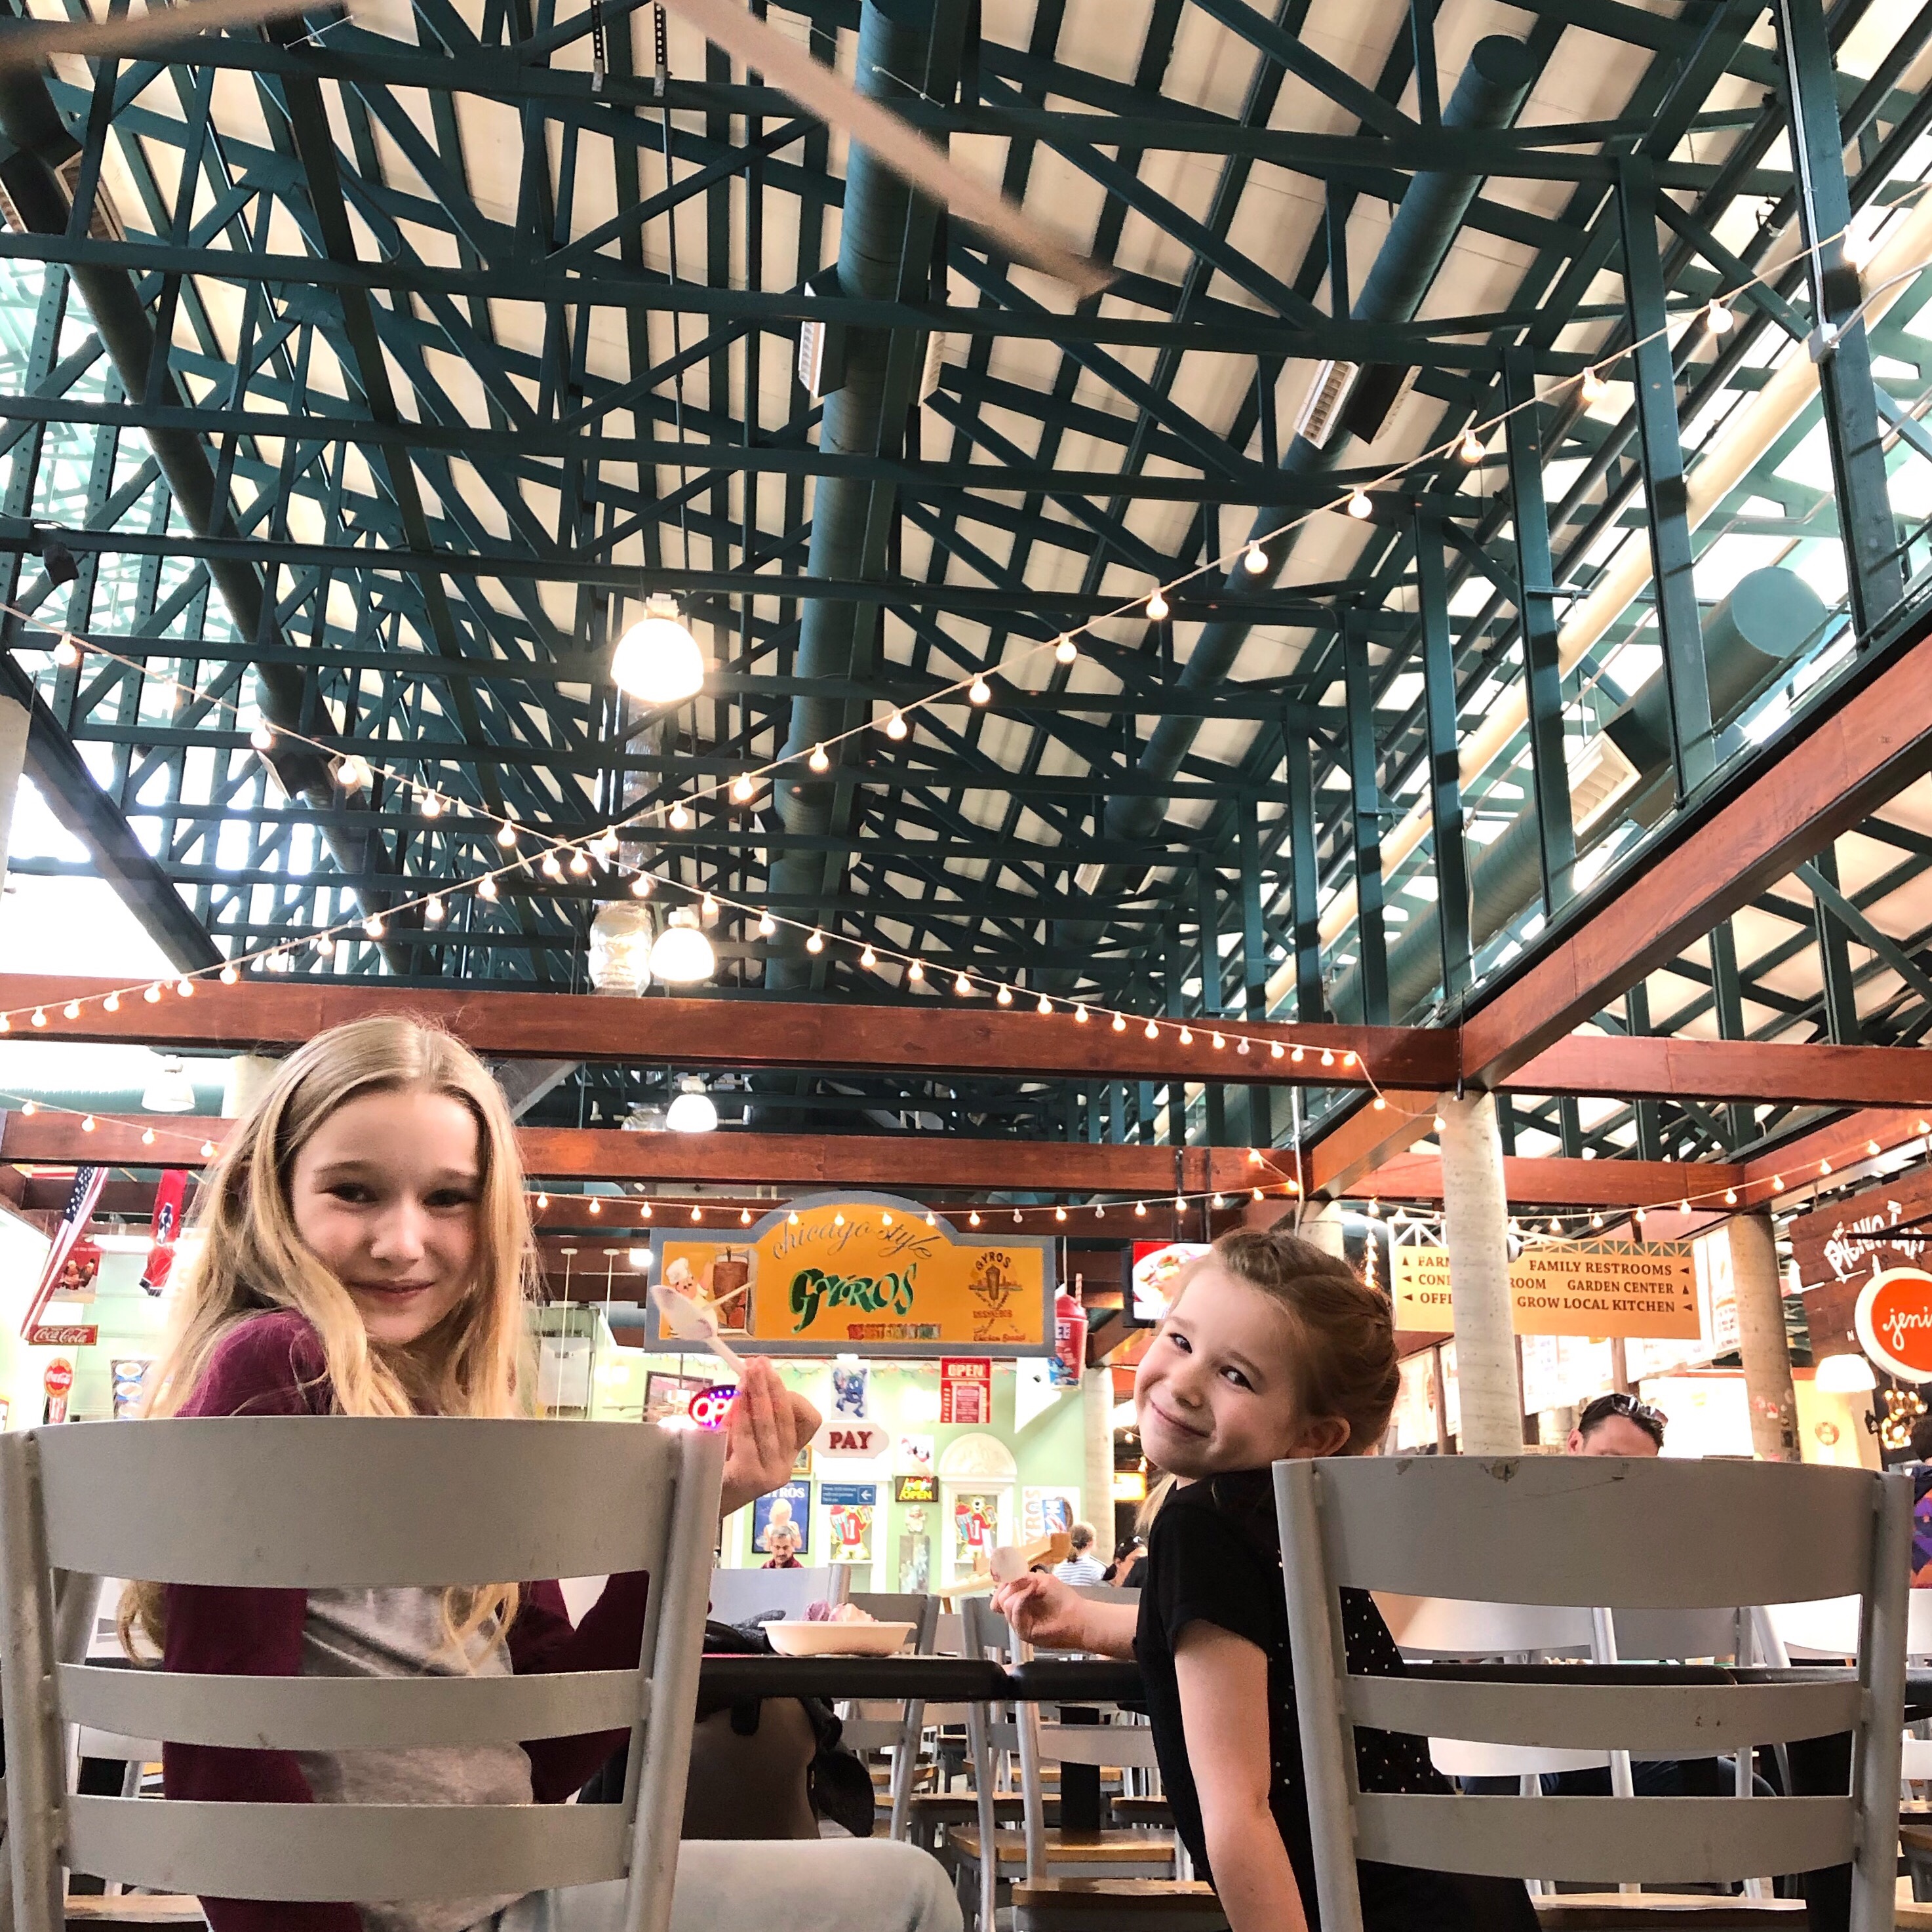
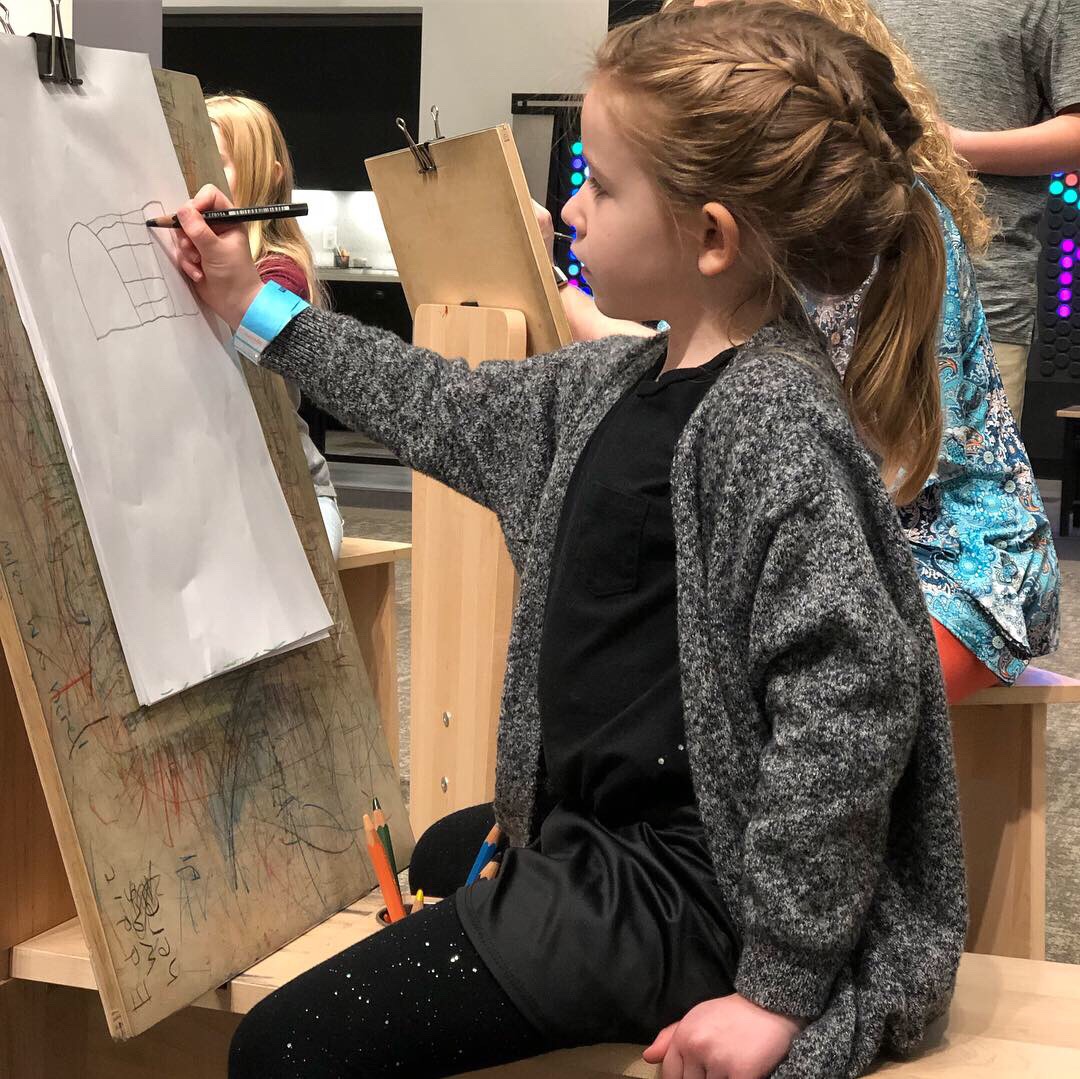
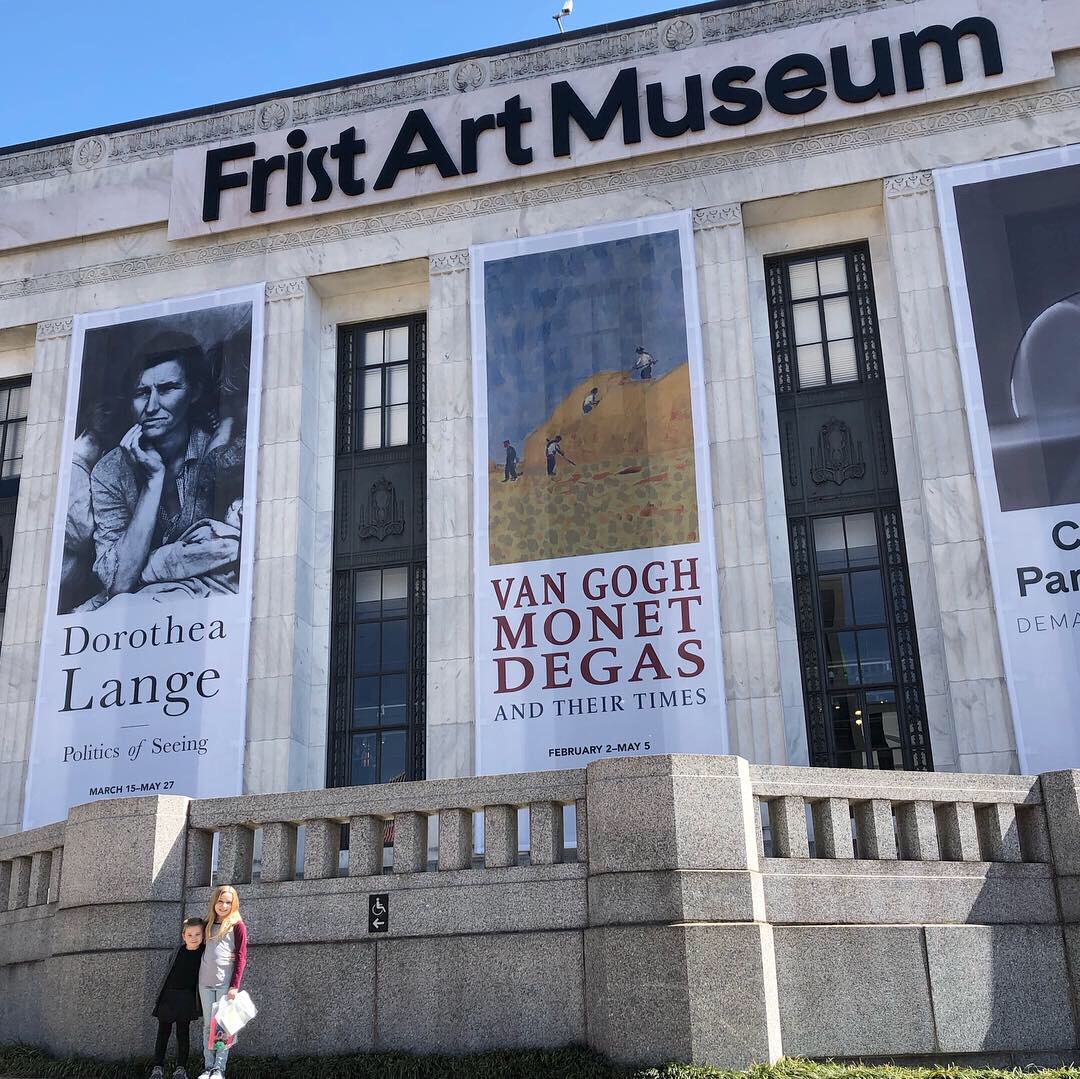
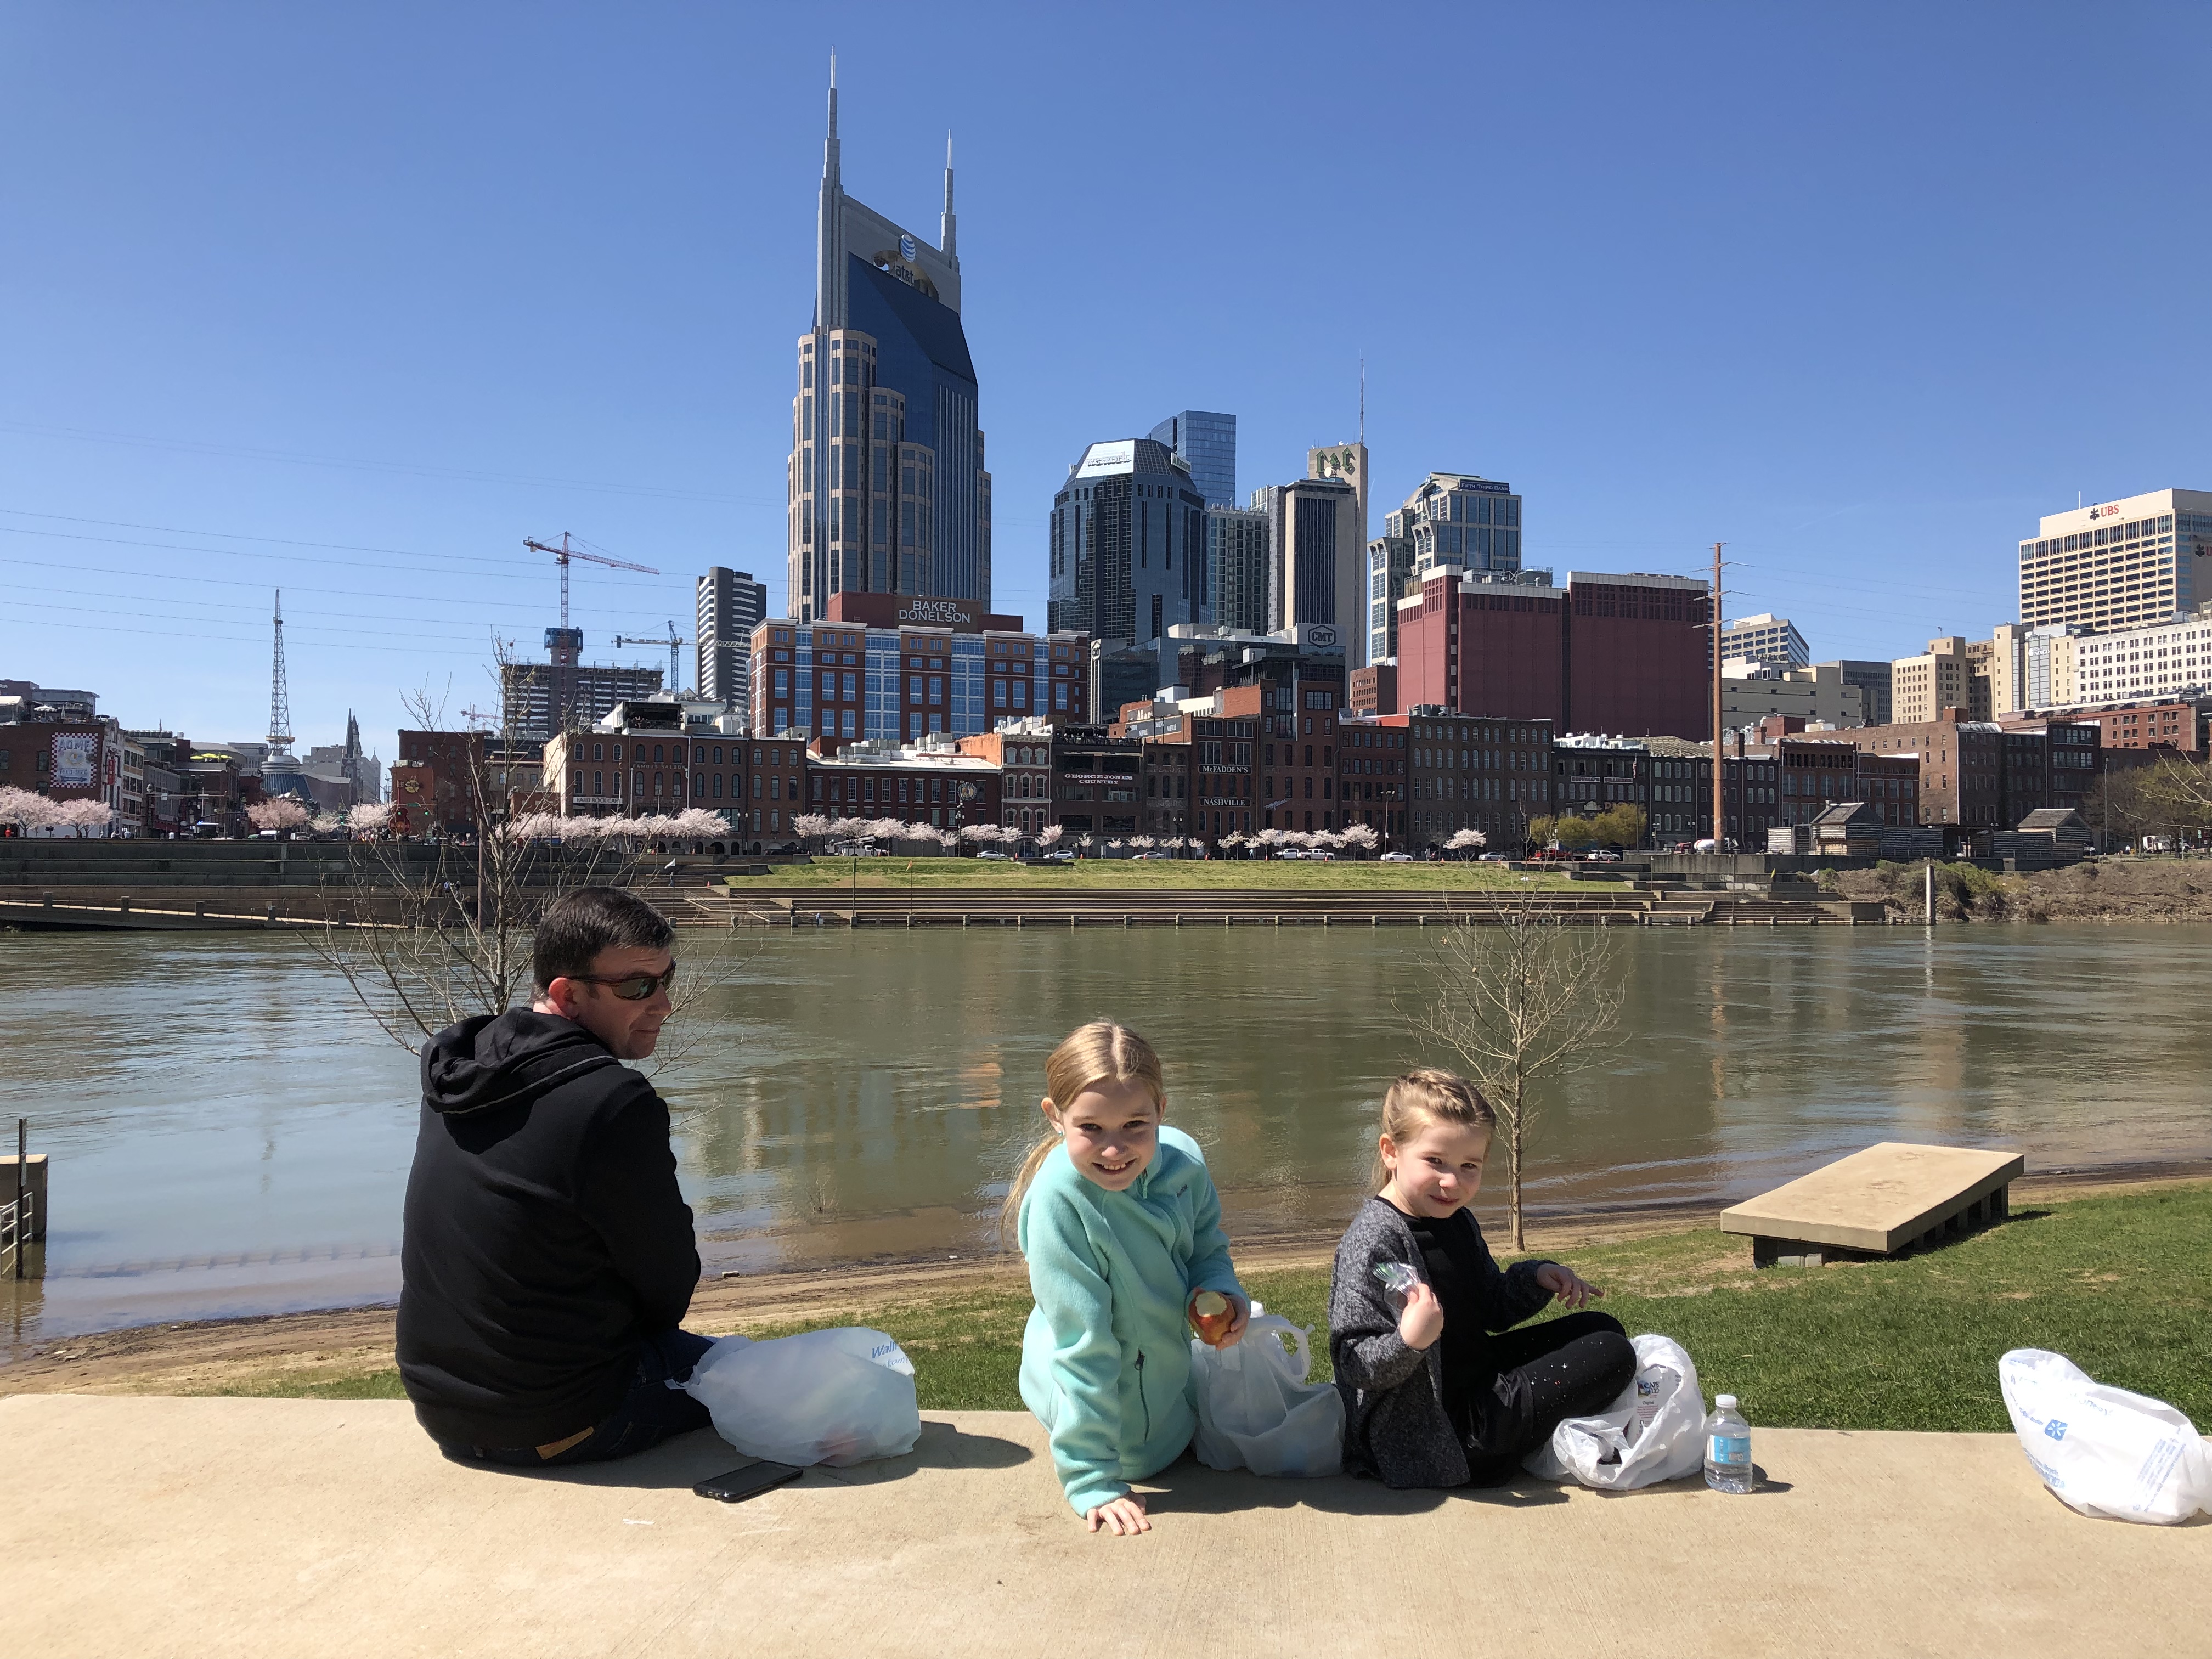
We didn’t really have a clear agenda for today, but thought it would be fun to spend the day in Nashville. I have found that our best family outings are spontaneous and flexible, not locked into a schedule.
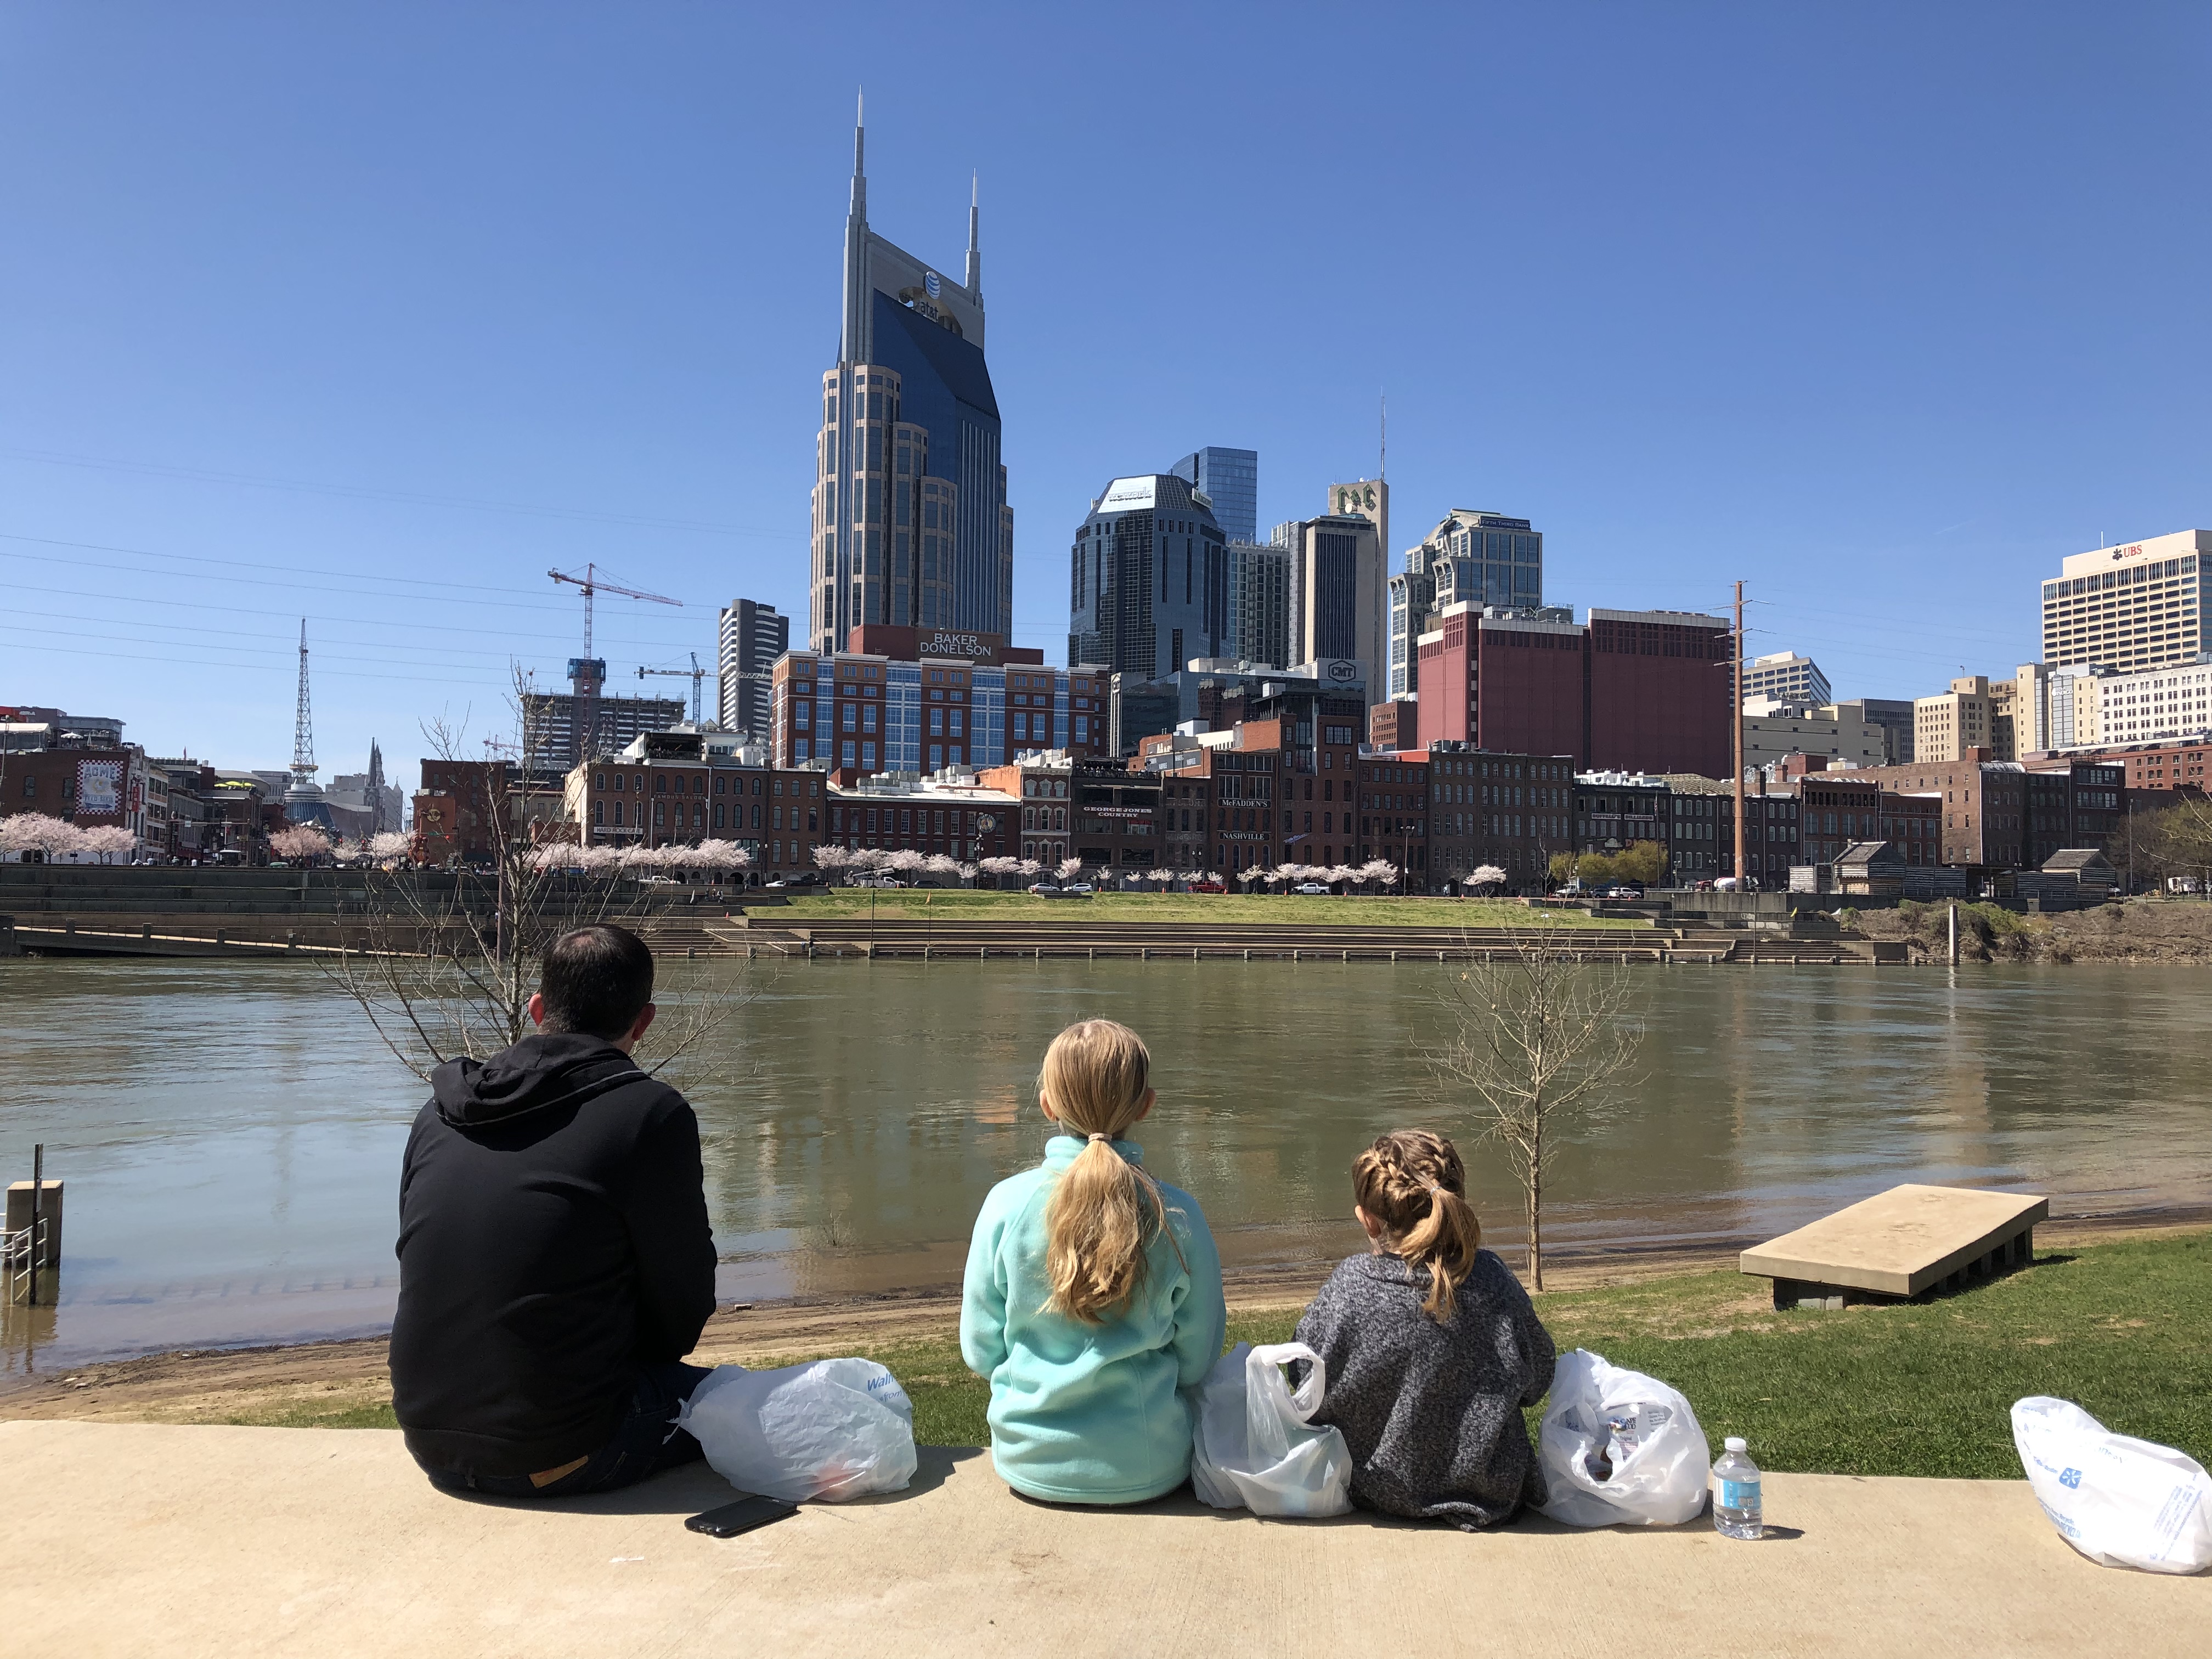
I also like packing a picnic lunch for us to save money, and when it’s nice out, it’s fun to eat outside at one of the local parks. Today was perfect for that. Madeline has so much fun helping me pack a bag of goodies for each of us.

We decided to try going to the Frist Museum first. The girls love the children’s art area and we haven’t been in almost a year. When we arrived there were two Metro buses that had just dropped children off for a field trip, and the lot was full.

We decided to go to Cumberland Park by the river and have our lunch first, then go back to the museum after the field trip kiddos had cleared out and the hopefully there would be parking.

This was the best plan and worked out perfectly. I think we all felt recharged after spending time by the water, taking in beautiful views of the Nashville skyline, and soaking up some sun and vitamin D.

When we arrived back at Frist we had our choice of parking spots and there were just a handful of patrons at the museum.

All four of us enjoyed doing art, especially watercolor! The girls enjoyed doing art with colored pencils, doing prints and had fun with lights, fabric and markers. We are so grateful for this program that is free for children under 18 and $15 for an adult. (Money saving tip: when you pay for admission, ask the museum employee for the museum patron parking discount. We only paid $4 and would have paid $20!)

We let both girls pick out a souvenir at the gift shop. Anna Claire picked a set of crystals and Madeline picked out a kaleidoscope that we could barely get her to remove from her eyeball to see where she was going. 😂

We trusted Siri to direct us with the best way to get home which ended up being Rosa Parks Blvd. It took us right by one of our favorite places, the Nashville Farmer’s Market. So of course we had to stop in to browse and get some Jeni’s ice cream.

Such a great day. We love Spring Break – an excellent prelude to summer.